Go to Settings >> System Settings from the navigation bar and click Plugins.
Search for OAuth Authentication and click Manage.
Click ADD SERVER.
Enter Server Name.
Enter the Client Id. It is the ID provided by OAuth to the registered clients.
Enter the Client Secret. It is a secret password created for OAuth.
Enter the OAuth Authorization Endpoint, Token Endpoint and User Info Endpoint.
Enter the Redirect URL. It is the Logpoint URL where OAuth redirects after verifying the access token and users information.
Enter the Role Field. It is used to extract roles from the OAuth response.
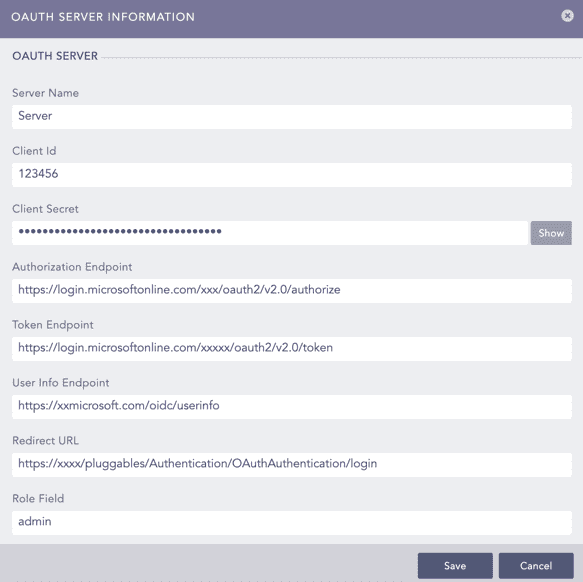
Configuring OAuth
Click Save.
Select a Logpoint user group as the Default Role. OAuth Authentication assigns the default user group to the OAuth users whose role are not mapped in the Mapping Roles.
Click Save. You can change the default settings from Configuring Default Settings.
Click Yes to select OAuth Authentication as the default authentication.
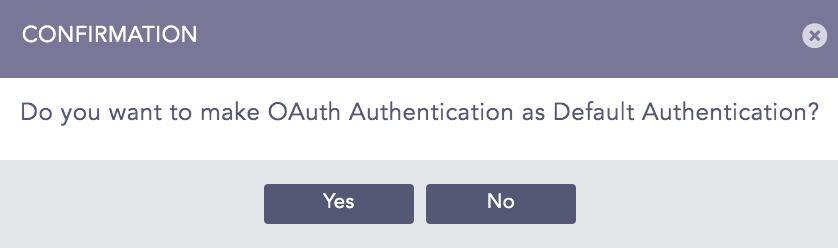
OAuth Confirmation
Once you add an OAuth server, OAuth Authentication Management removes Add Server and includes Roles Mapping.
Click Default Settings in OAuth Authentication Management.
Select a Logpoint user group as the Default Role.

Default Settings
Click Save.
You can map an OAuth role to a Logpoint user group to define access permission in Logpoint. You can map an OAuth role to one Logpoint user group only.
Click Roles Mapping in OAuth Authentication Management.
Enter an OAuth Role.
Select a Logpoint User Group to assign to the OAuth role.
Click Add.
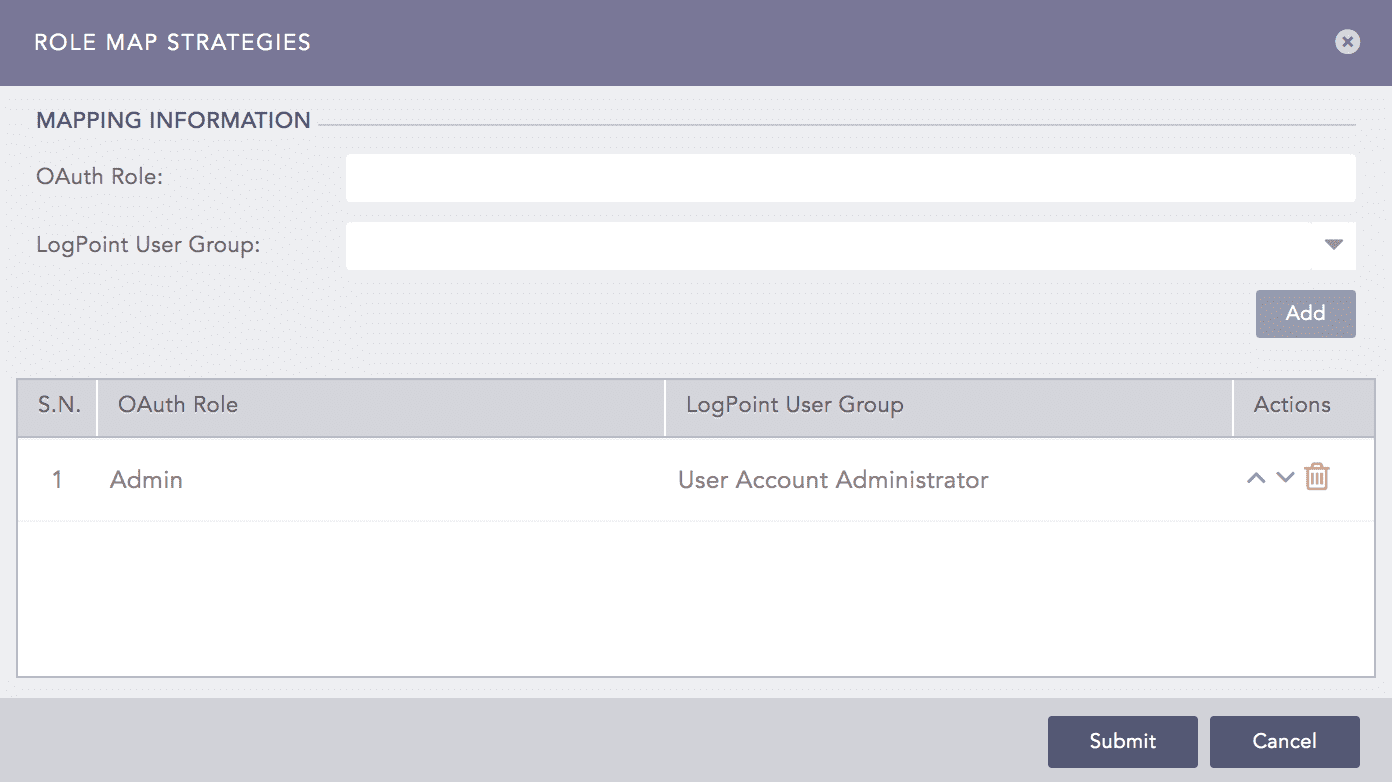
OAuth Role Mapping Added